
Course: Studio with Brian Clyne
Group Members: Senior Lead: Nampoina Randrianarivelo | Shaine Hammarberg | Matt Ginsburg | Preston Coston
External Stakeholders: IBM Feedback Panel, Sinclair G. (BS, MS)
Project Theme: Designing for Displacement
Project Learning Outcomes: Project scheduling, materials procurement, budgeting, electrical engineering (Arduino microcontrollers, LEDs,
ultrasonic distance sensors), woodworking, 3D Printing, cross-functional collaboration with external stakeholders, and final
product launch
Working with a New Team |
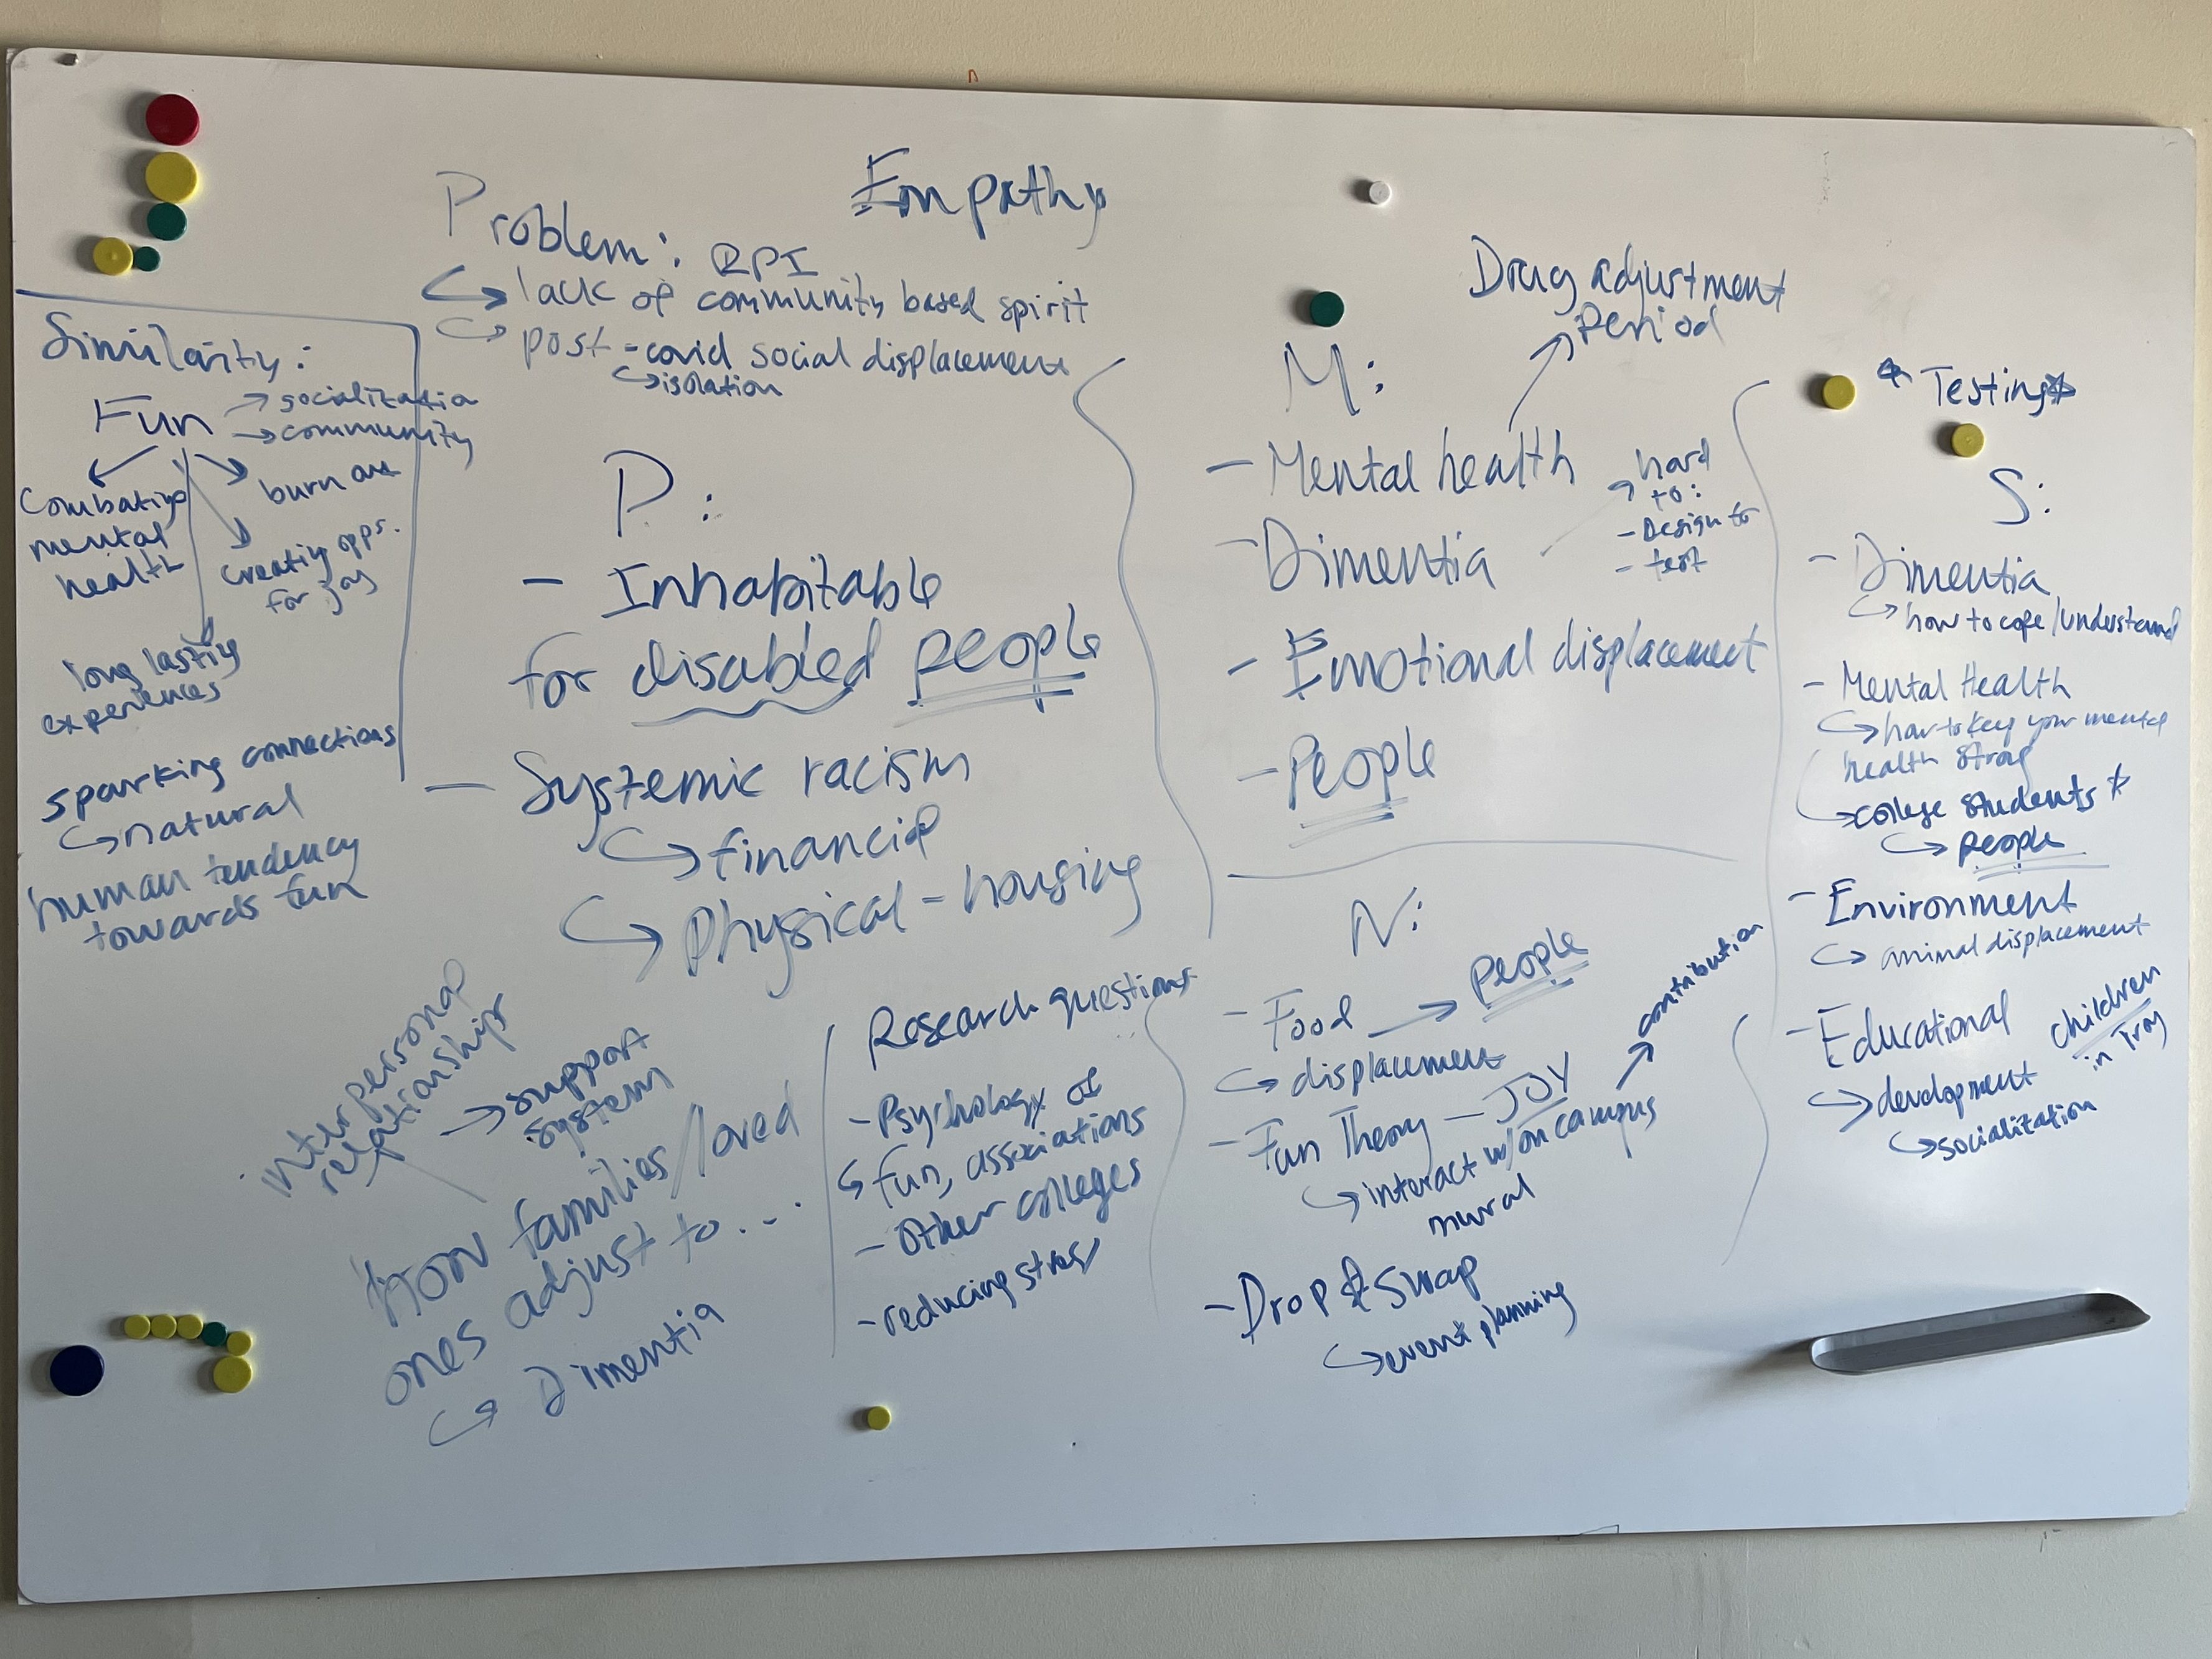
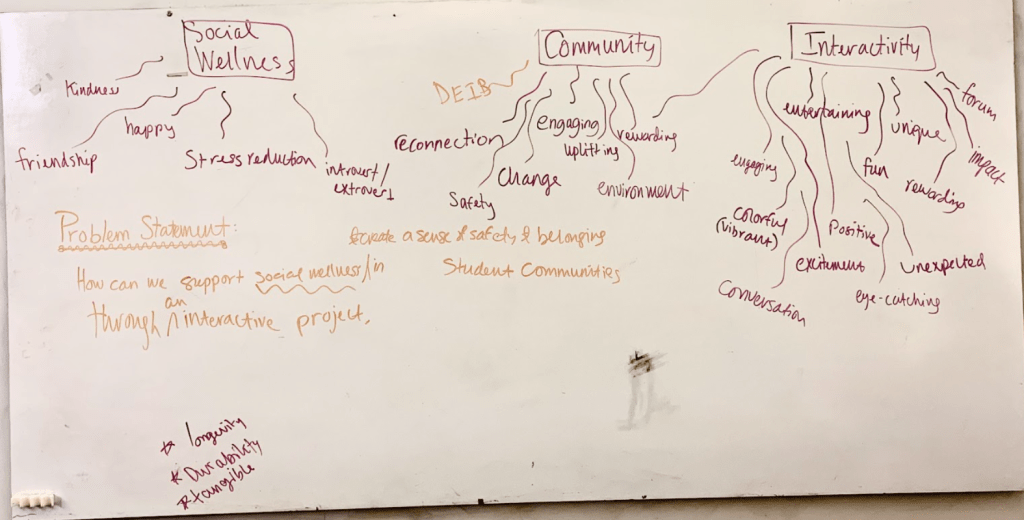
We began the project by getting to know each other and I lead a whiteboarding dicussion to understand our passions, inspirations, and the skills we bring to the table. Through whiteboarding, we collectively found similarities in wanting to address the theme of displacement through social wellness, community, and fostering quality human interaction between people.
User Research |
To understand our demographic, we released a survey to gather information about our community’s views on social wellness and what types of interactive public installations would they be most likely to approach. Through our fliers and social media campaigns, we gathered 70 responses from our community members.
Problem Statement |
“How can we improve social wellness and belonging in student communities through an interactive media project?”
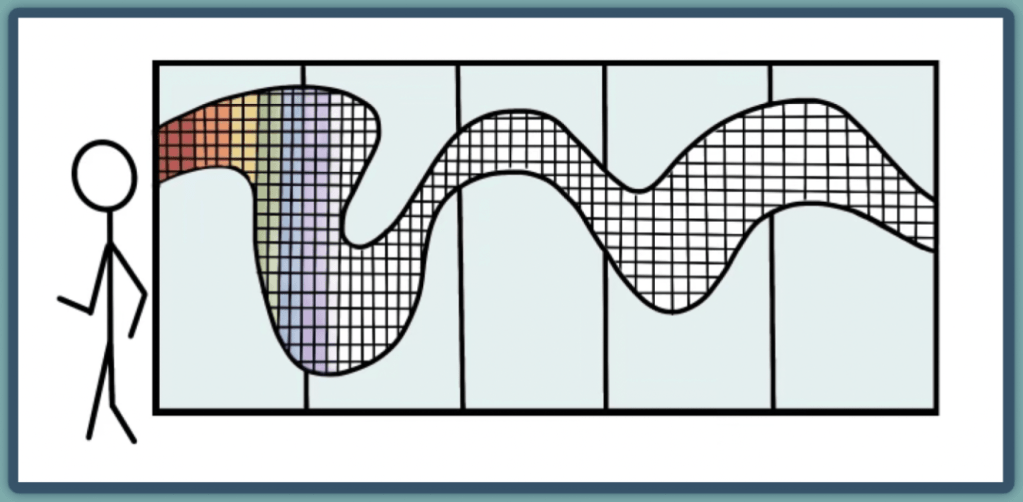
Initial Concept Selection |
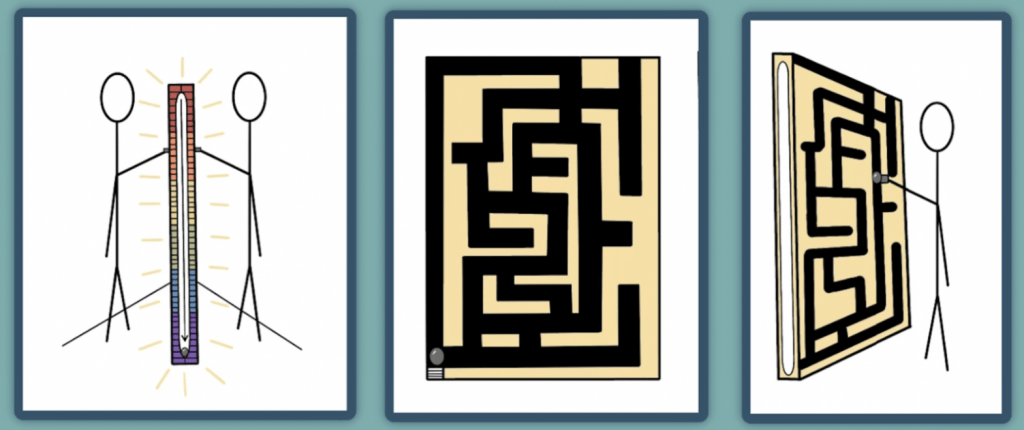
Based on survey results, we learned that installation ideas based on a light trail, a interactive game such as marble game, and an interactive mirror were the most well-received. We ultimately eliminated the marble game idea in favor of more unique interactive opportunities. We also elimianted the light trail because we wanted users to have the option to opt-in to using our design.
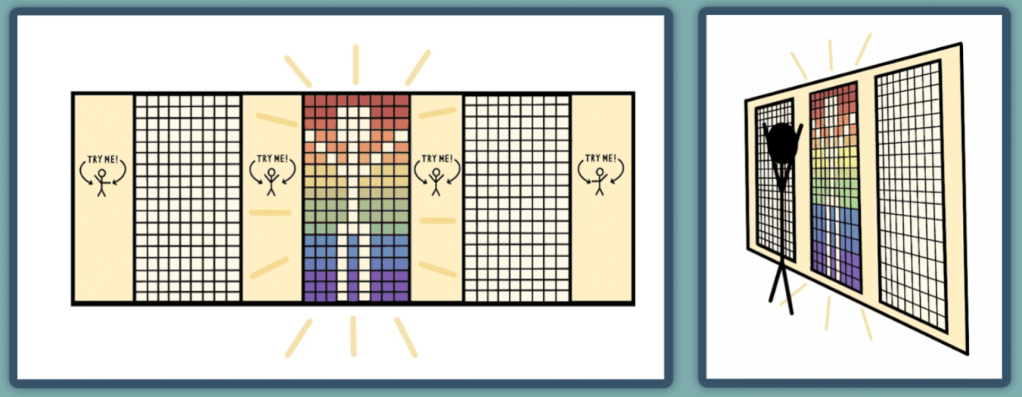
(Sketches by Shaine Hammarberg)
Prototype 1 |
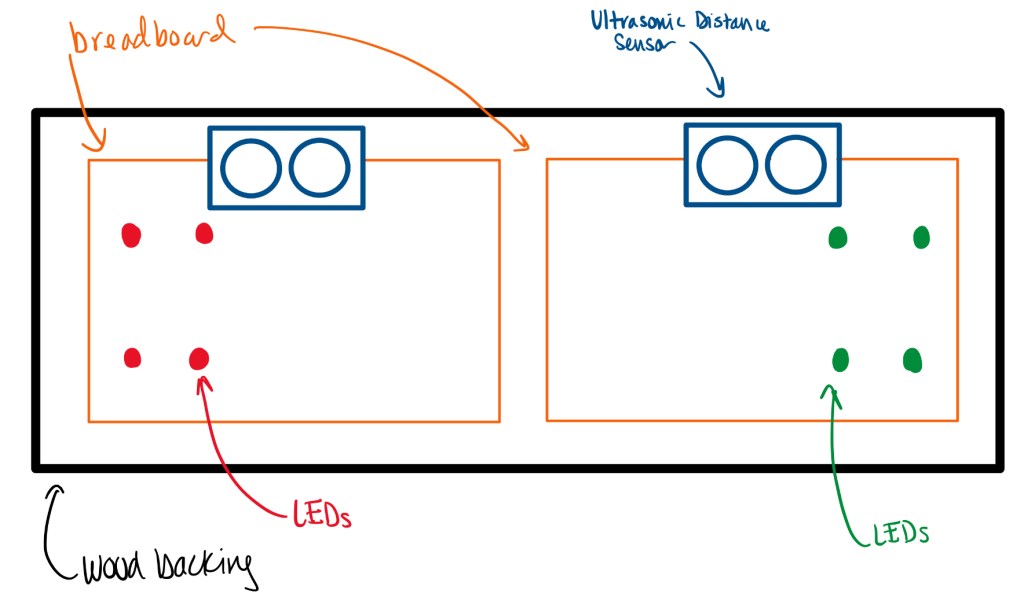
For our initial prototype, we worked with RPI alumn Sinclair G (B.S Computer Science and Cognitive Science ‘19 and M.S Computer Science ‘20) to create a scaled-down version of our final design.
Our project used ultrasonic distance sensors which utilize ultrasonic waves to measure distance. The Arduino read the distance from the sensors and lit the LEDs according to which sensors are activated. The distance the sensors read, out to a configured distance threshold, corresponded to the brightness of the LEDs. The Arduino was programmed using standard Arduino C/C++ programming..
Demo 1
We presented the demo of our initial prototype to the IBM feedback panel and our studio class. Before our demo, unfortunately wires failed on one side of the prototype causing the distance sensors to not work. However, our demo was still met with excitement from both the panelists and our studio peers!
IBM feedback: Include a feedback form next to our installation so that users can provide feedback.
Learning outcome: Prototyping with electronic components and overcoming prototype failure.
Prototype 2 |
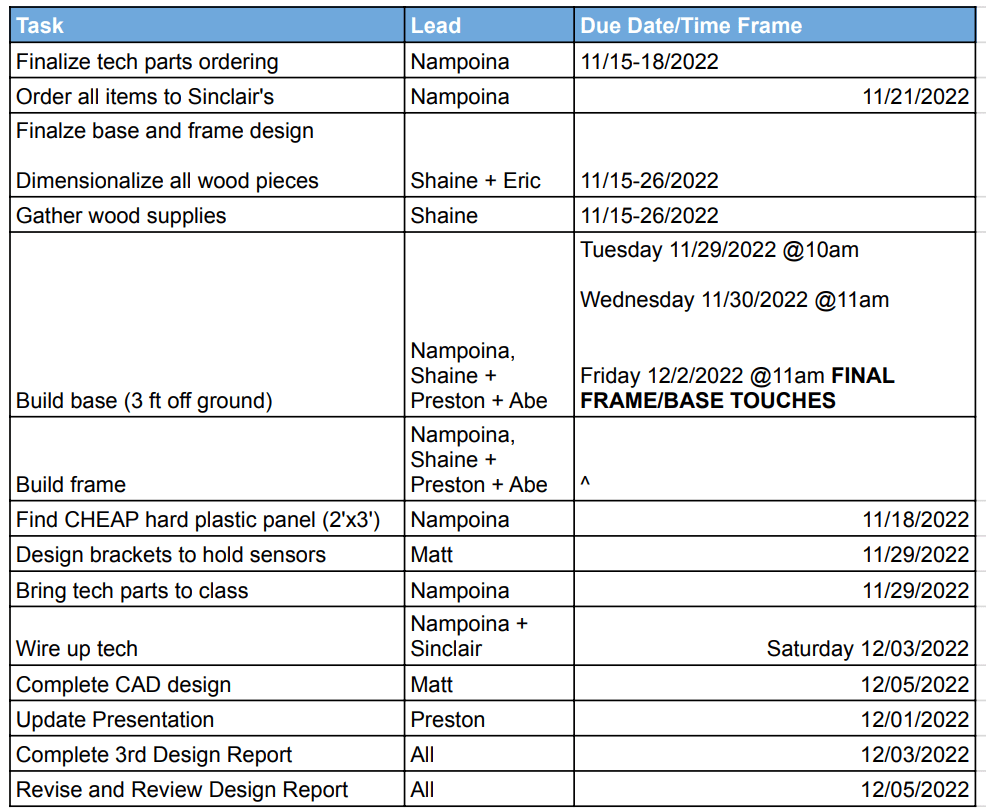
Timeline
Before we started our second prototype, we created a project schedule to ensure our project would be completed by the end of the semester.
Design Considerations
- The Americans with Disabilities Act (ADA) Compliance
- Heavy installation is difficult to hang so we must build a frame instead
- Searching for quality and cost-effective parts and components
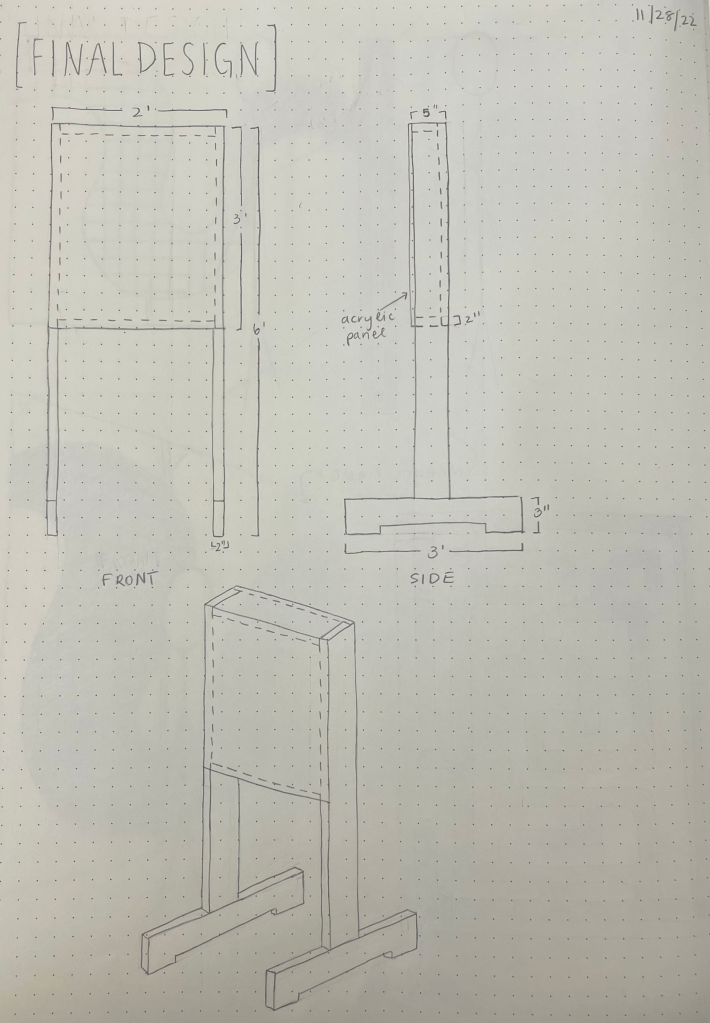
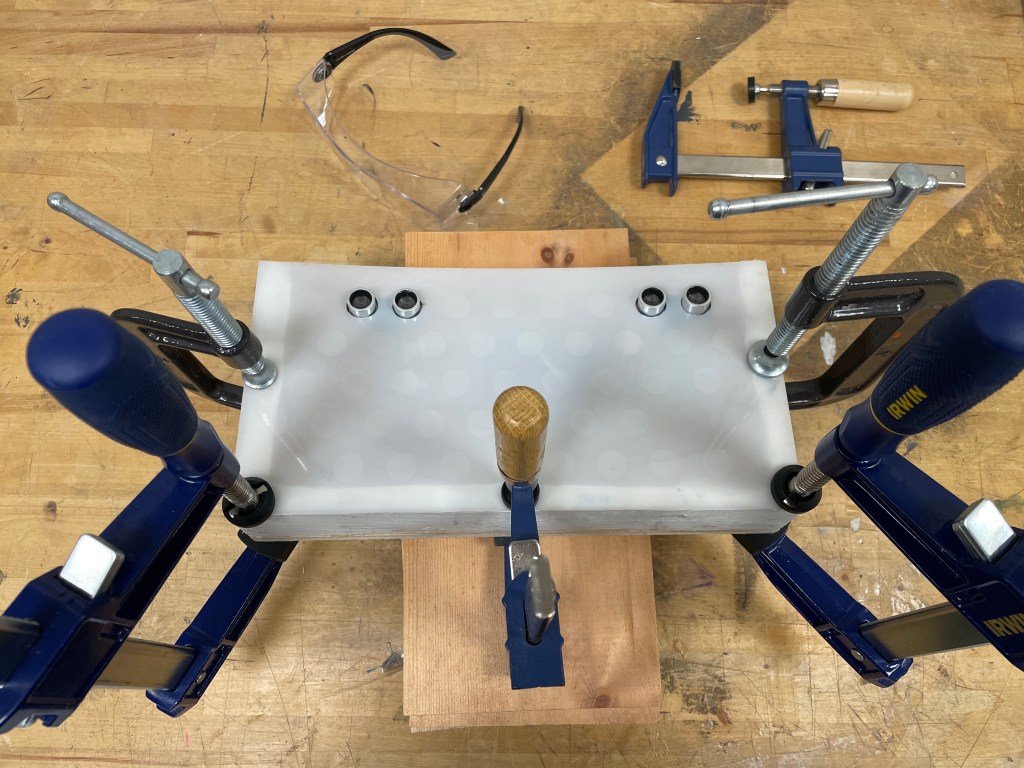
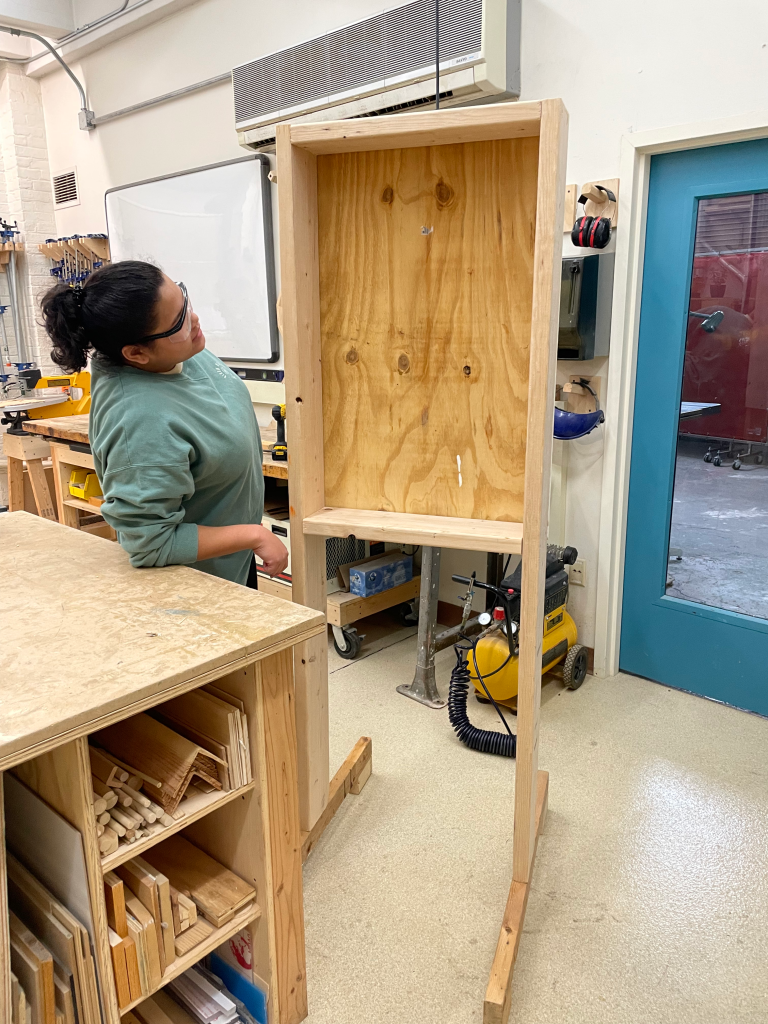
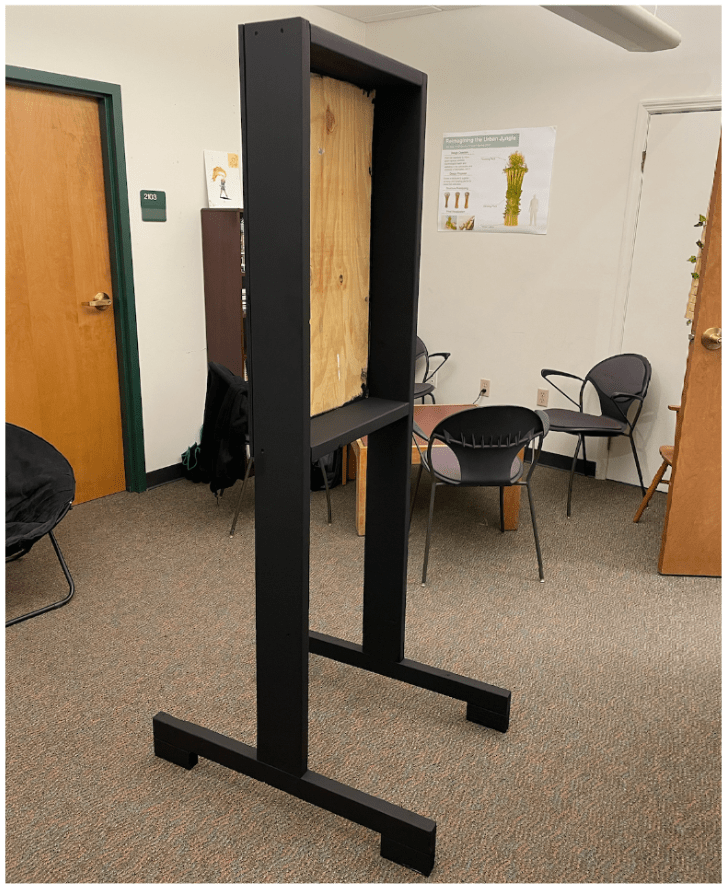
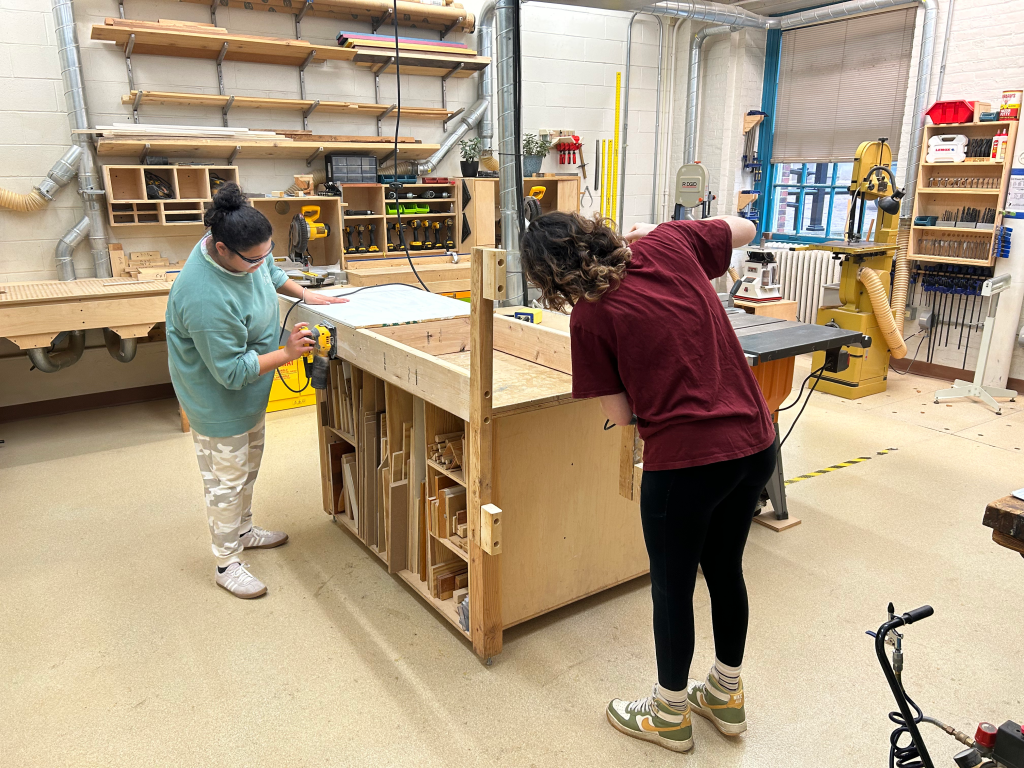
Construction
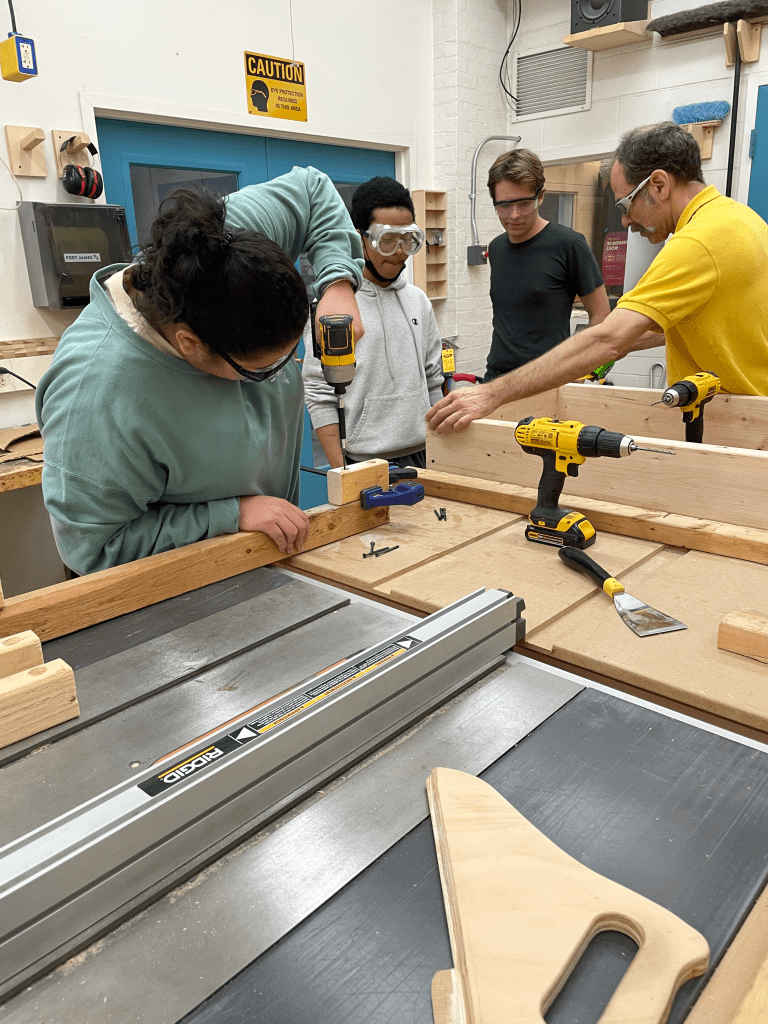


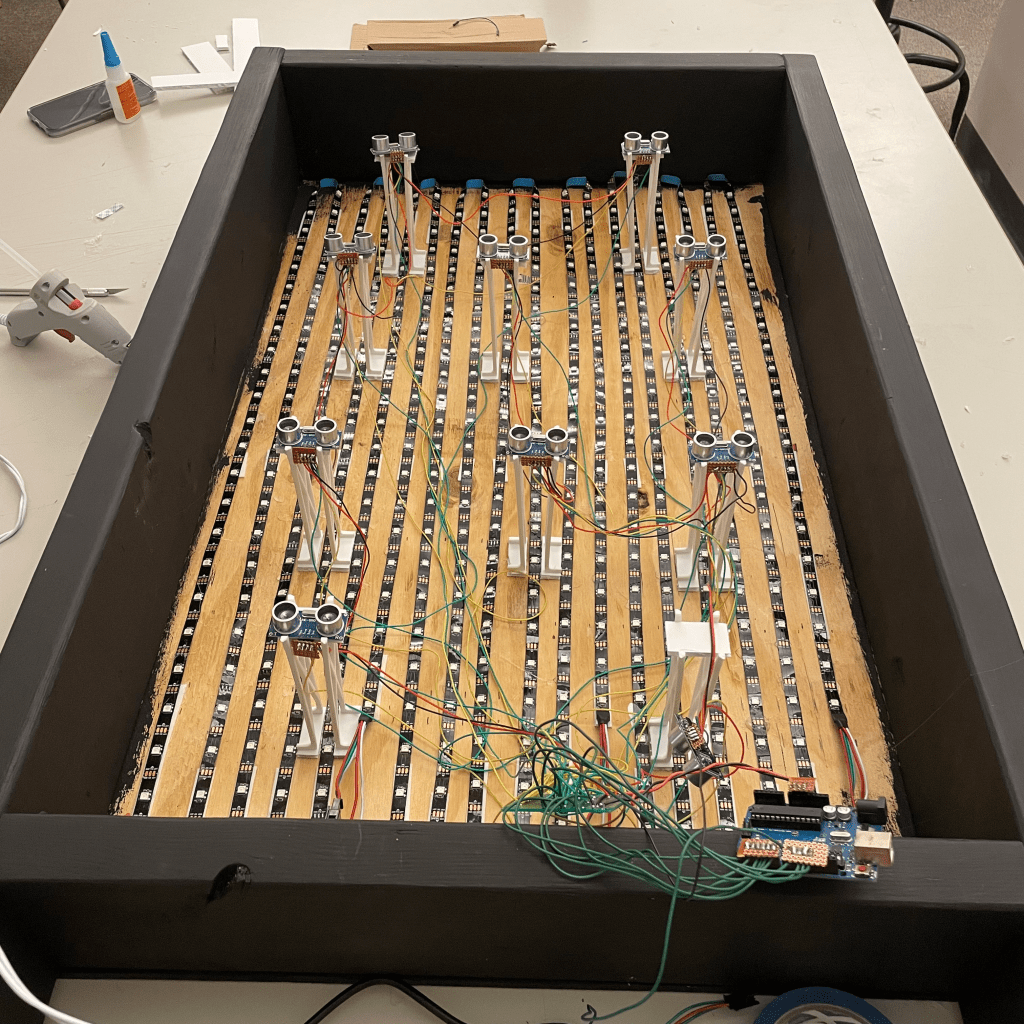
Electronic Wiring
(Nampoina Painstakingly Hot Gluing Down LED Strips)
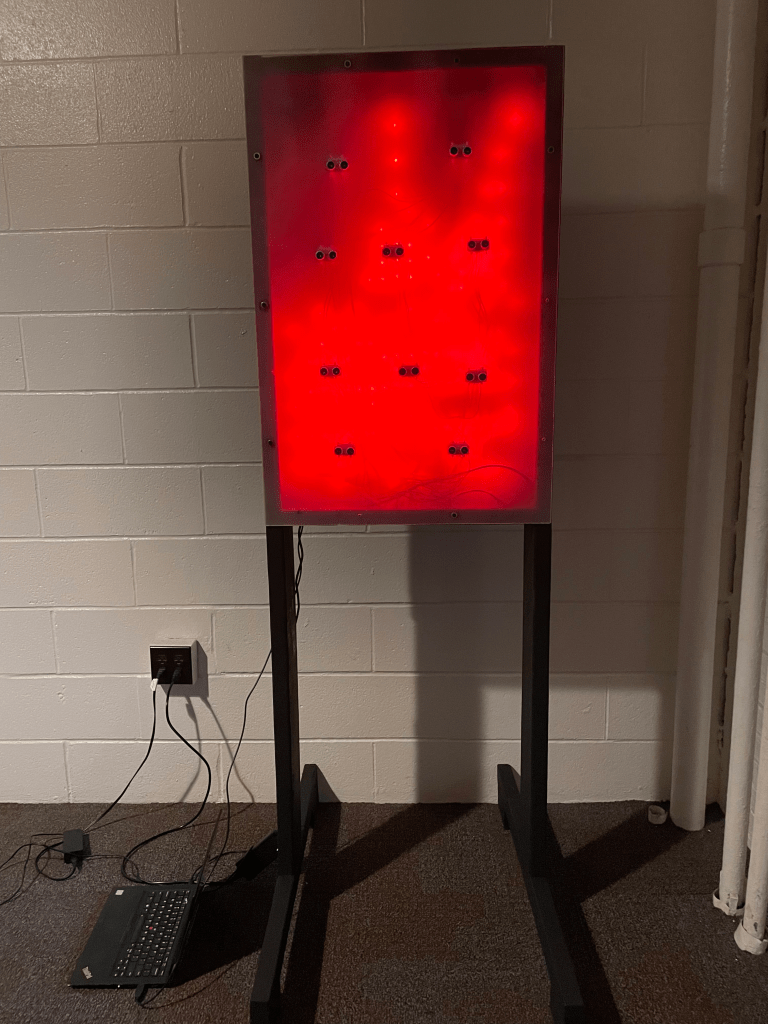
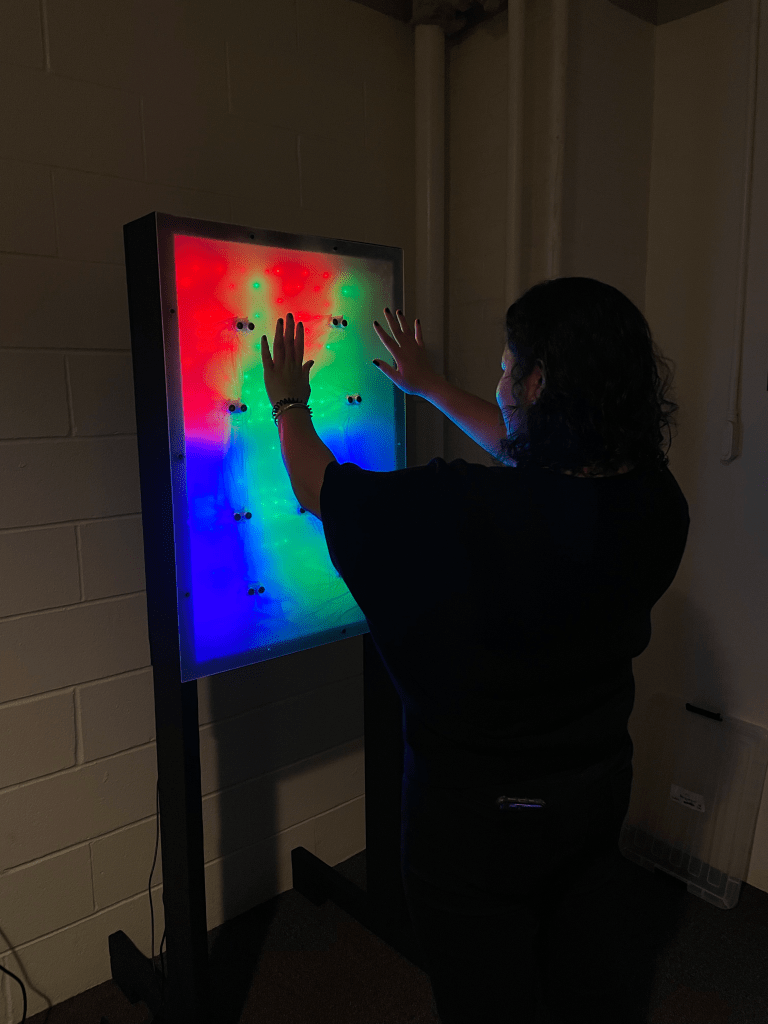
Final Prototype
In prototype 1, the distance from the sensors corresponded to the brightness of the LEDs because we were using single-color LEDs. However, in the final protoype we used LED strips which enabled us to utilize different colors to visualize distance.
- Red = Very close
- Green = Close
- Blue = Far
- Purple = Very far
Future Work
We originally planned to use the power adapter we purchased so that our installation could plug directly into the wall. Unfortunately we ran into a problem with the Arduino persumed to be from a lack of power or from a grounding issues where the sensors weren’t reading the correct value therefore it resulted in random colors appearing on the LEDs instead of properly registering the sensor values. Because we were on a tight deadline, we decided to move forward and run the final demo with Nampoina’s computer.
